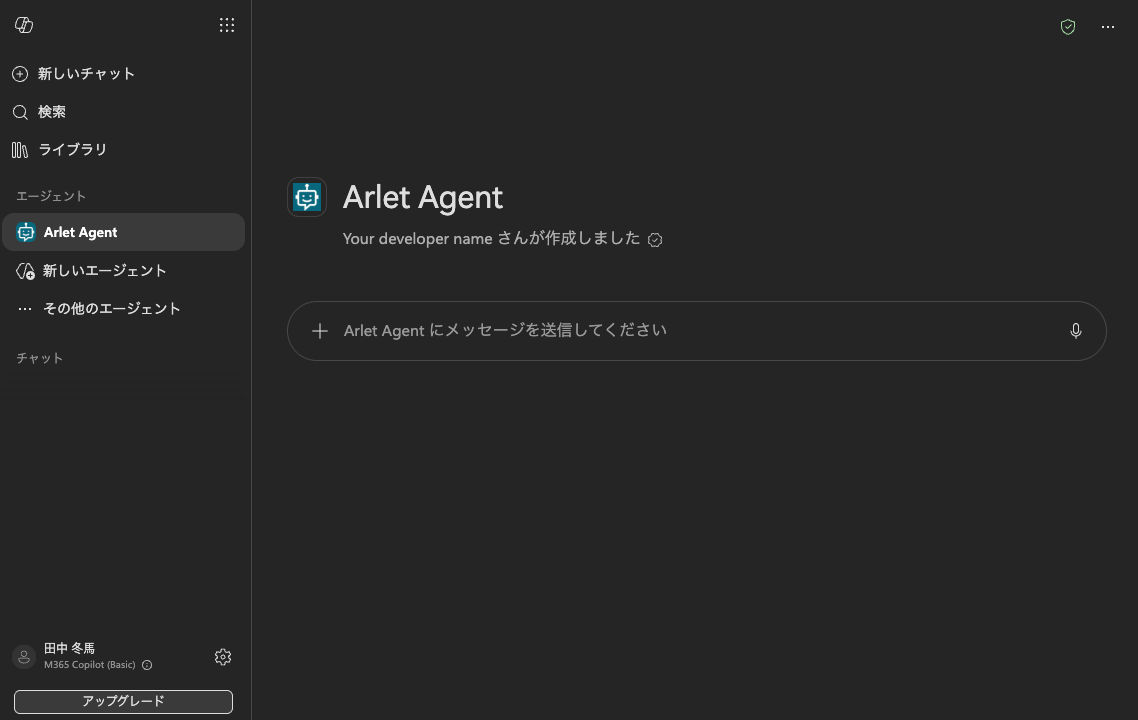

Requires a Microsoft work account and a Copilot Studio license (or trial).
Using MCP servers requires the agent to use generative orchestration, and is
not available in Copilot Studio in Teams.
1. Prepare an agent
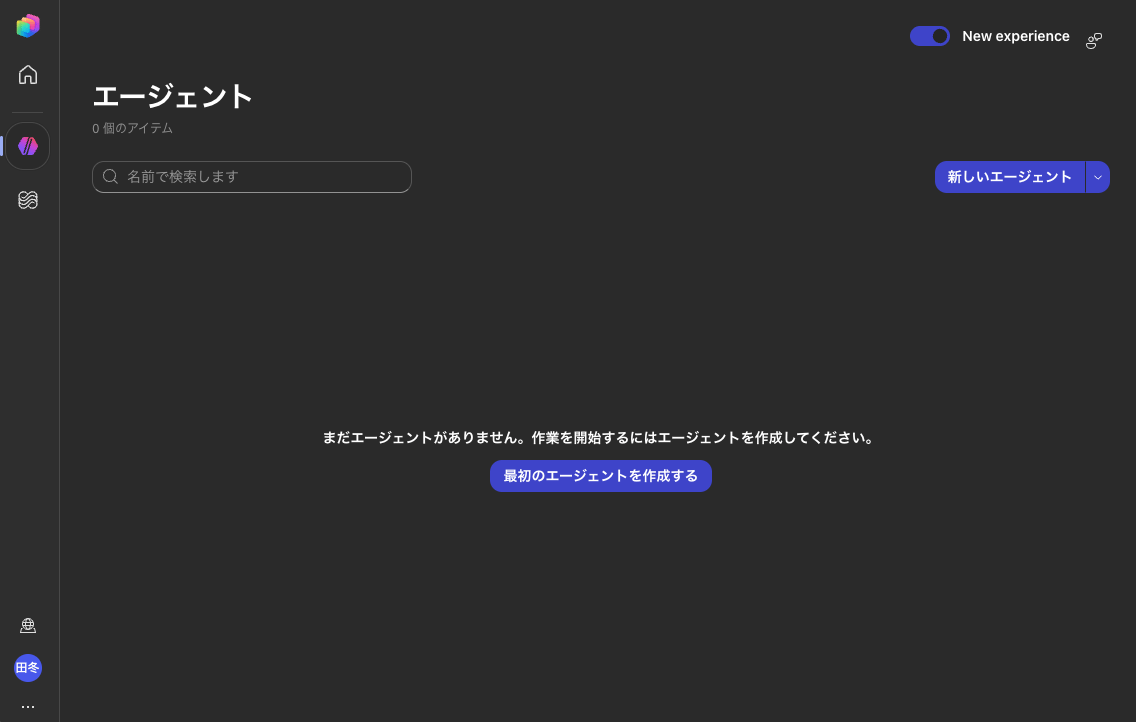
- Sign in to Copilot Studio with your work account and click New agent on the Agents page (or open an existing agent to add Arlet to it)
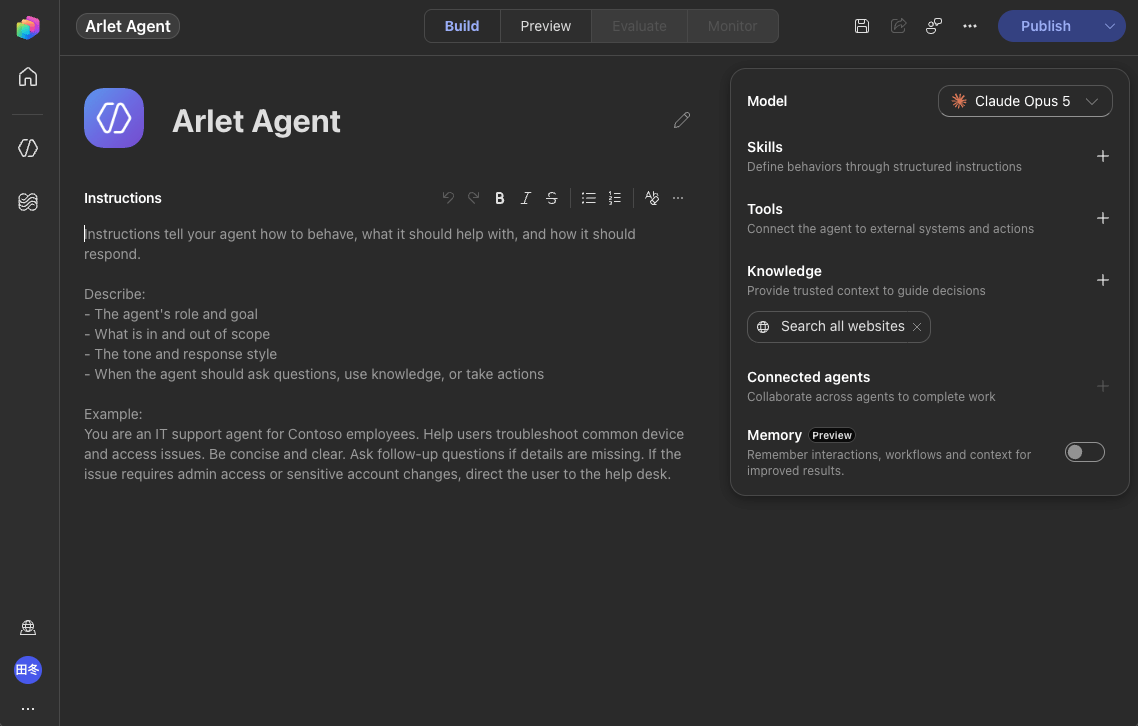
- In the agent editor (Build tab), click + next to Tools in the right panel
2. Add the MCP server
- When the Add tool dialog opens, click + Add at the top right
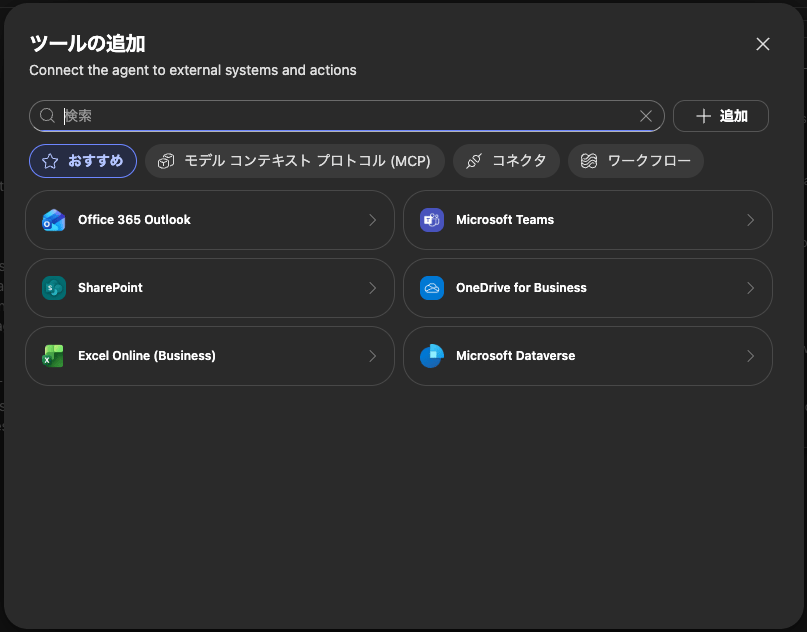
- Select Model Context Protocol (MCP)
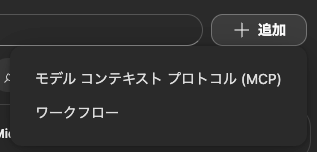
- Fill in the Add MCP server form and click Add:
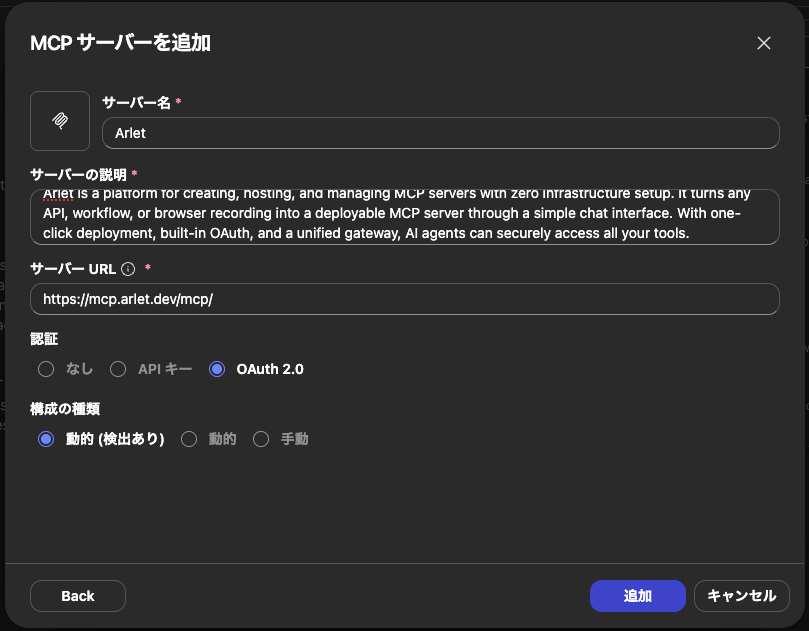
The OAuth configuration is auto-detected from Arlet’s server, so there is no
need to enter a Client ID / Client Secret manually.
3. Create a connection and authenticate
- The Select a connection screen appears. At this point it is
Not connected
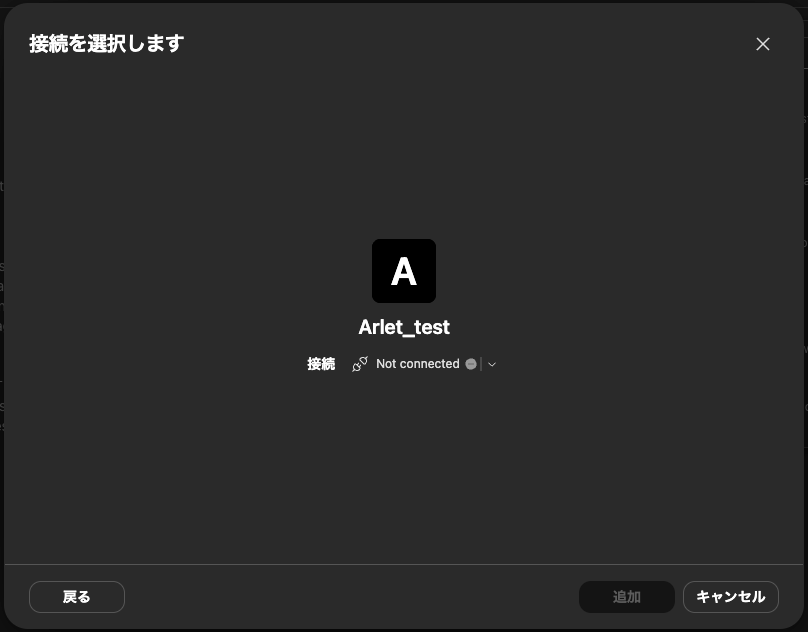
- Select Create new connection from the connection dropdown
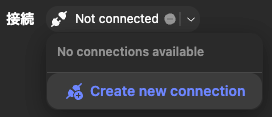
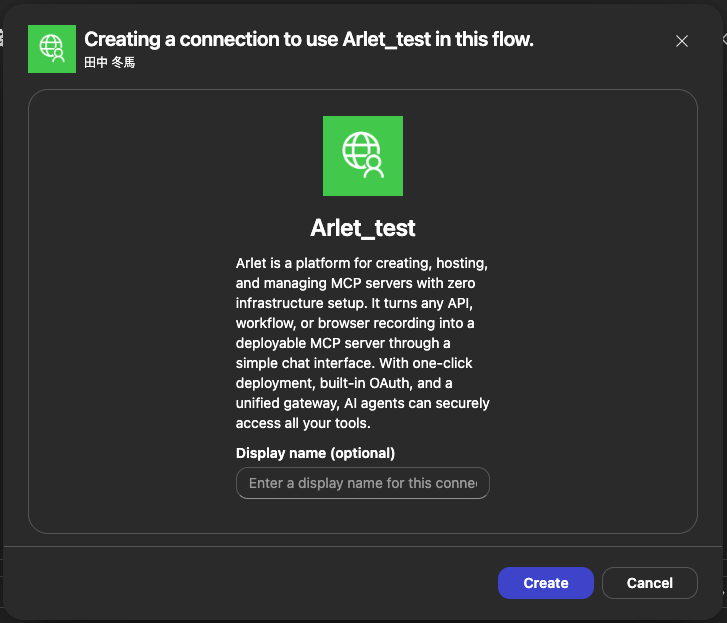
- Click Create in the connection creation dialog
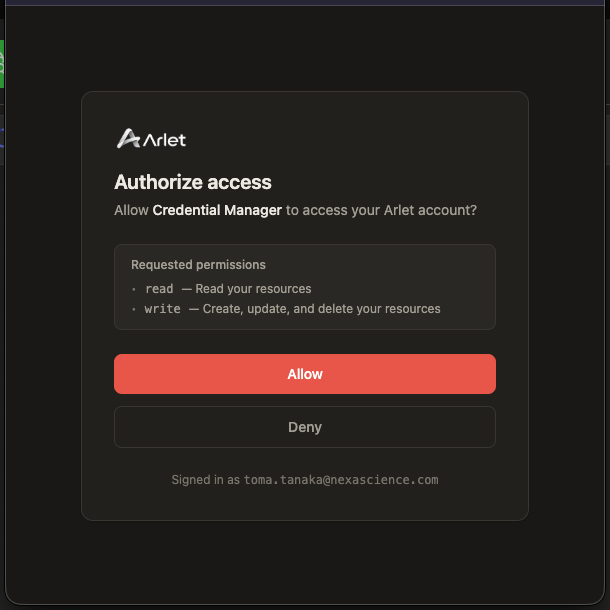
- Arlet’s authorization screen opens. Sign in with Google if you are not signed in, then click Allow
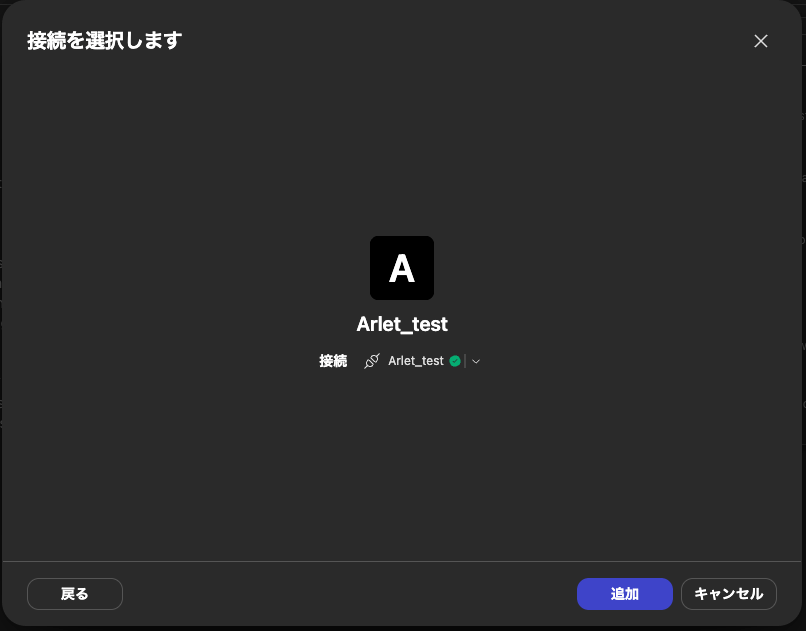
- Once connected (a green check appears), click Add to add the tool to your agent
4. Publish and use the agent
- Click Publish at the top right of the editor

- Select the channels to publish to (e.g. Teams + Microsoft 365) and click Save and publish. To use the agent in Microsoft 365 Copilot, check Make agent available in Microsoft 365 Copilot
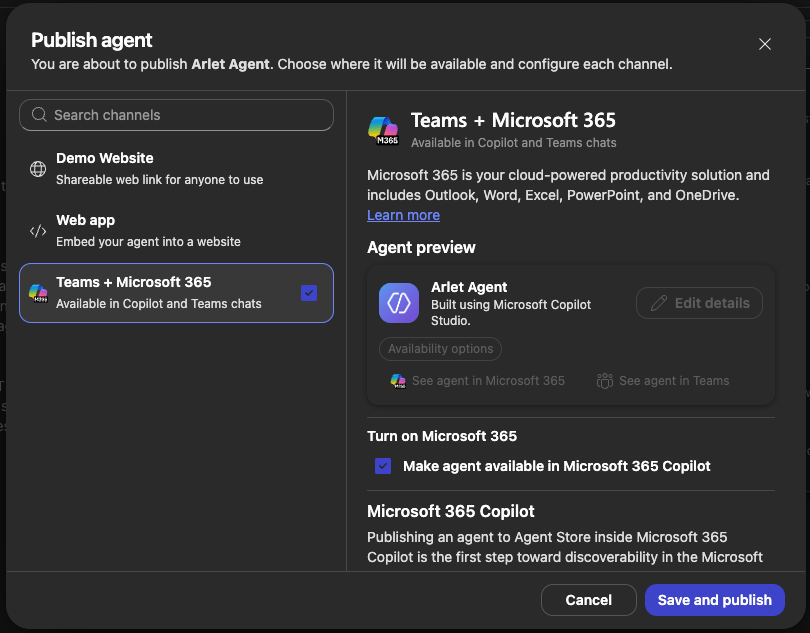
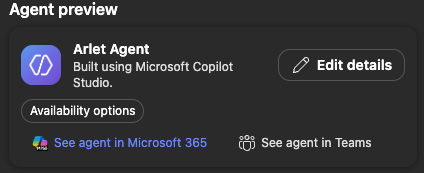
- Once published, open the agent from See agent in Microsoft 365
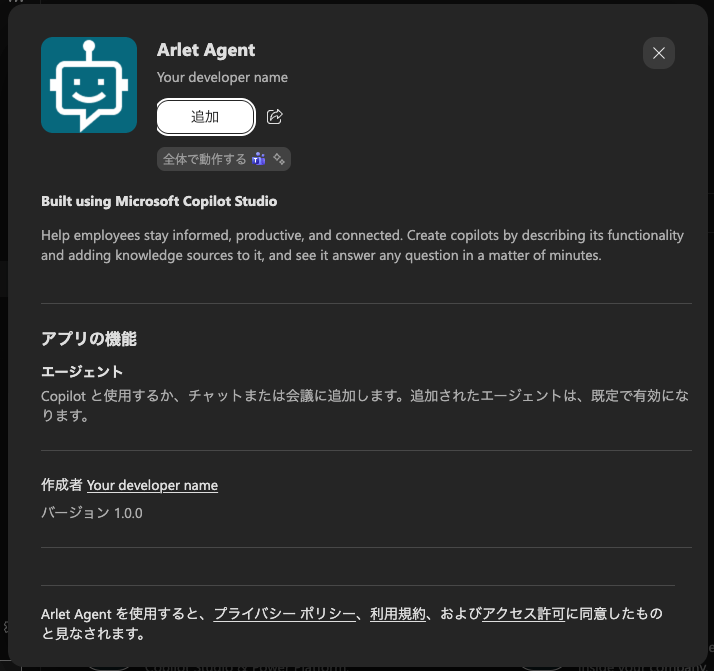
- Click Add in the Microsoft 365 Copilot agent dialog
- You can now chat with Arlet’s tools in Microsoft 365 Copilot