> ## Documentation Index
> Fetch the complete documentation index at: https://docs.arlet.dev/llms.txt
> Use this file to discover all available pages before exploring further.
# Gemini Enterprise
> ArletをGemini Enterpriseと接続する方法
カスタムコネクター(MCP)の追加にはGemini
Enterpriseの登録が必要です。個人向けのGeminiアプリでは利用できません。
### 1. コネクター設定を開く
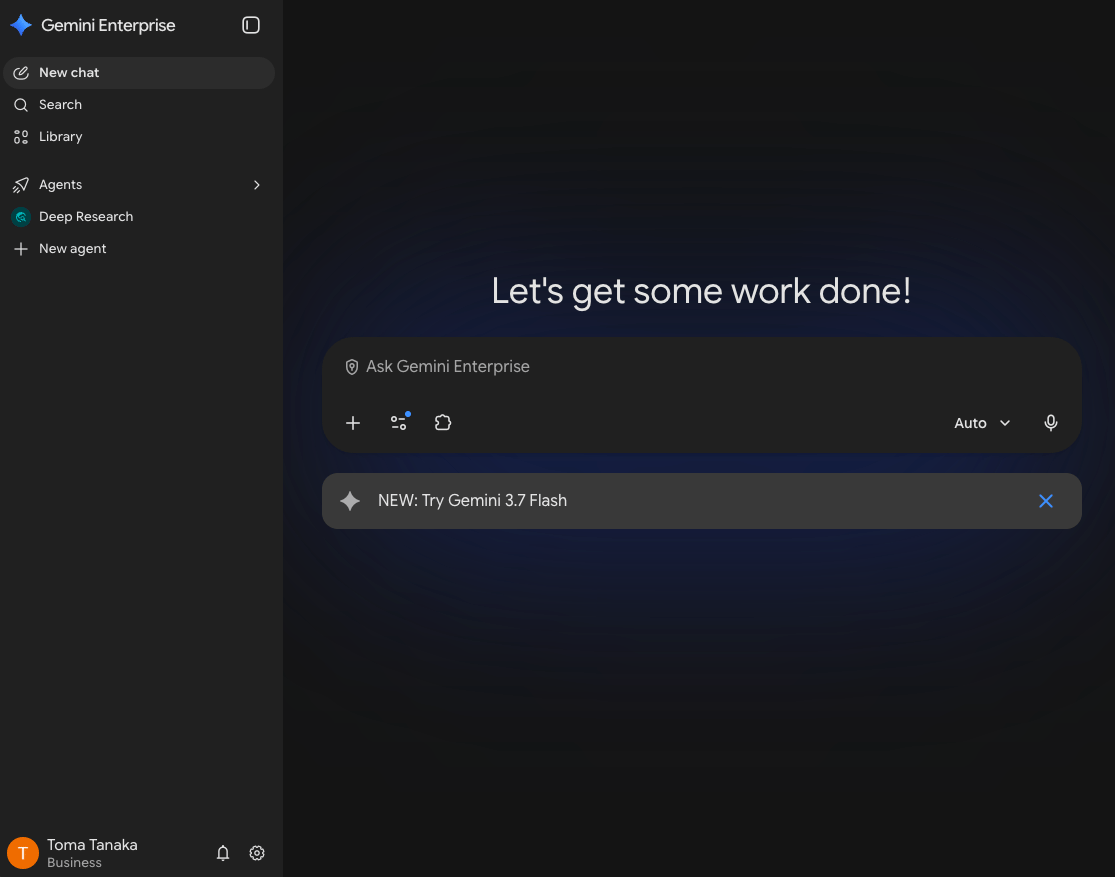
1. [Gemini Enterprise](https://business.gemini.google/)に組織のGoogleアカウントでサインインし、左下の歯車アイコンから設定メニューを開きます
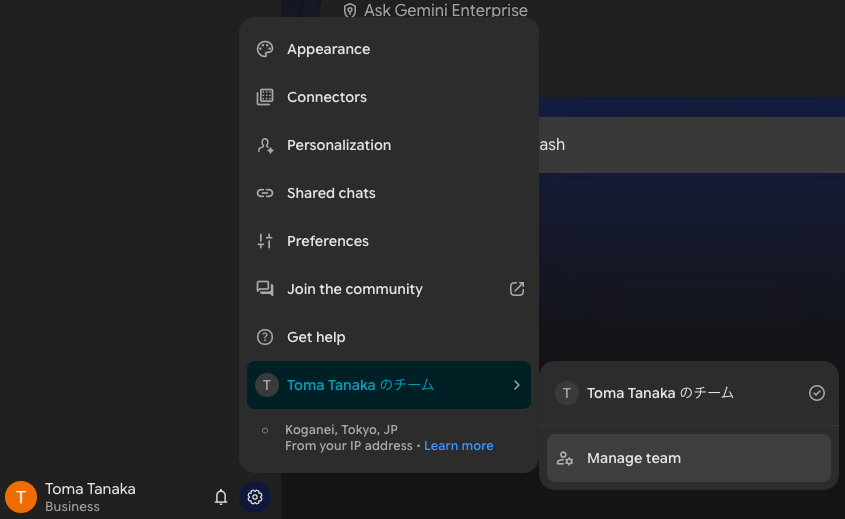
 2. **Connectors**を選択します
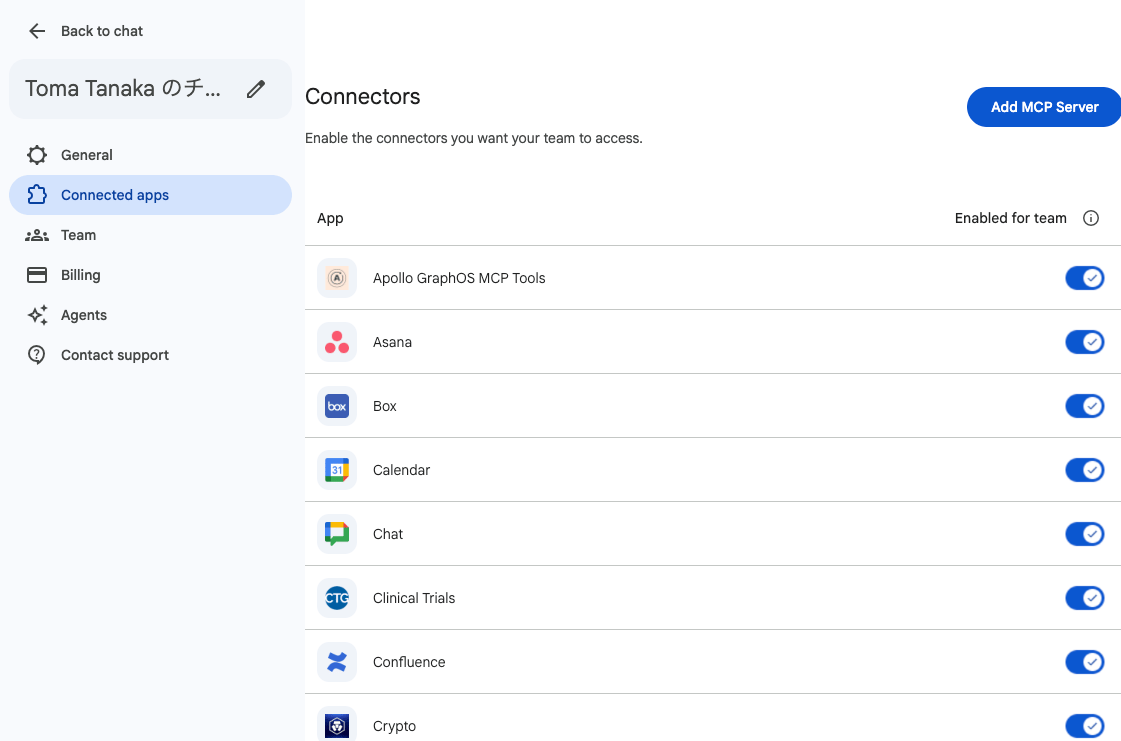
 3. コネクター一覧の右上にある**Add MCP Server**をクリックします
 ### 2. MCPサーバーを追加する
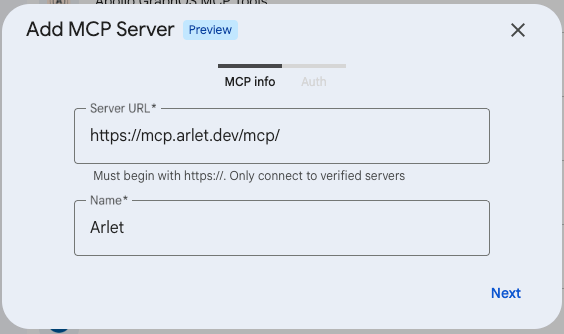
**MCP info**タブに以下を入力し、**Next**をクリックします:
* **Server URL**: `https://mcp.arlet.dev/mcp/`
* **Name**: `Arlet`
### 2. MCPサーバーを追加する
**MCP info**タブに以下を入力し、**Next**をクリックします:
* **Server URL**: `https://mcp.arlet.dev/mcp/`
* **Name**: `Arlet`
 ### 3. OAuthを設定する
**Auth**タブに以下の値をそのまま入力します:
| 項目 | 値 |
| ------------------ | --------------------------------------------- |
| Authorization URL | `https://api.arlet.dev/oauth/authorize` |
| Token URL | `https://api.arlet.dev/oauth/token` |
| Auth URL Parameter | (空欄のまま) |
| Client ID | `bZMPRGhKKNpV5GuIZjqLqg` |
| Client Secret | `ZDjS20kr2KlktIeTSWo3TNxy4ETm4BaTDoNsWTfqGAg` |
| Scopes | `read write` |
### 3. OAuthを設定する
**Auth**タブに以下の値をそのまま入力します:
| 項目 | 値 |
| ------------------ | --------------------------------------------- |
| Authorization URL | `https://api.arlet.dev/oauth/authorize` |
| Token URL | `https://api.arlet.dev/oauth/token` |
| Auth URL Parameter | (空欄のまま) |
| Client ID | `bZMPRGhKKNpV5GuIZjqLqg` |
| Client Secret | `ZDjS20kr2KlktIeTSWo3TNxy4ETm4BaTDoNsWTfqGAg` |
| Scopes | `read write` |
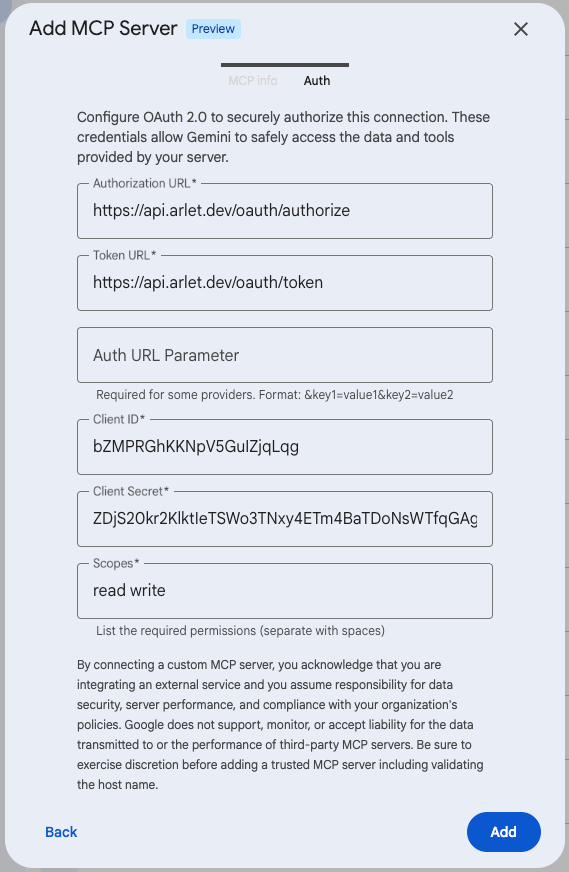 入力したら**Add**でコネクターを保存します。
このClient ID / Client
SecretはGemini Enterprise接続専用の共有クライアントです。アクセス権はこの値ではなく、次のステップで各ユーザーが行うサインインと認可によって発行されます。
### 4. Arletに接続する
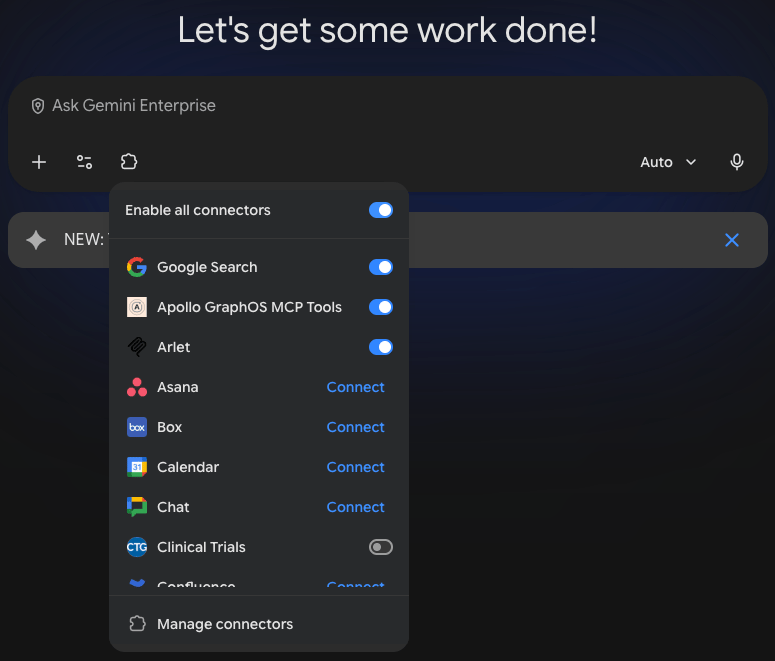
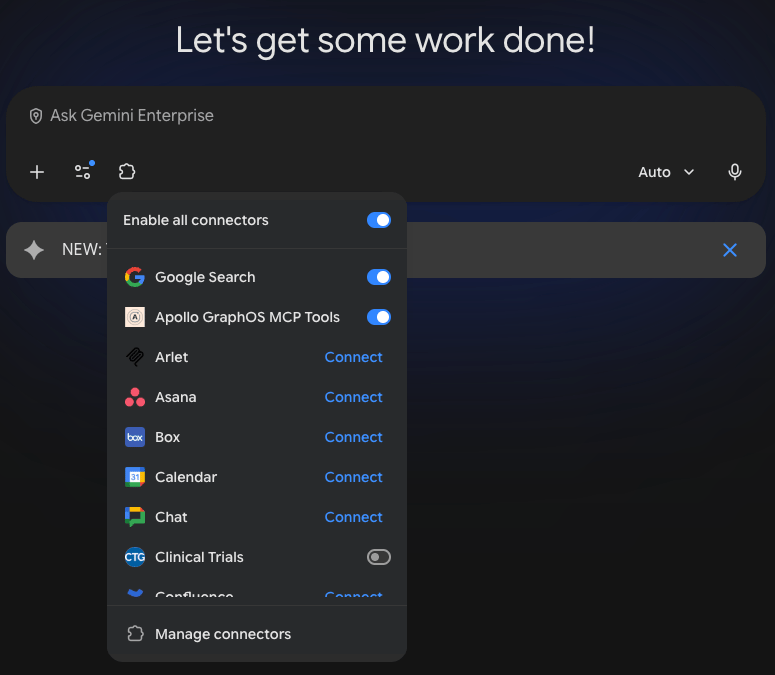
1. チャット画面のコネクターアイコンを開くと、一覧にArletが表示されます。**Connect**をクリックします
入力したら**Add**でコネクターを保存します。
このClient ID / Client
SecretはGemini Enterprise接続専用の共有クライアントです。アクセス権はこの値ではなく、次のステップで各ユーザーが行うサインインと認可によって発行されます。
### 4. Arletに接続する
1. チャット画面のコネクターアイコンを開くと、一覧にArletが表示されます。**Connect**をクリックします
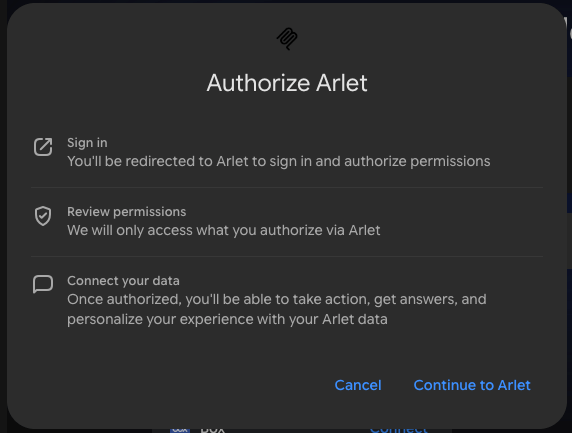
 2. 認可ダイアログが表示されるので、**Continue to Arlet**をクリックします
 3. Arletのサインイン画面が開きます。Googleでサインインし、OAuthフローを完了してください
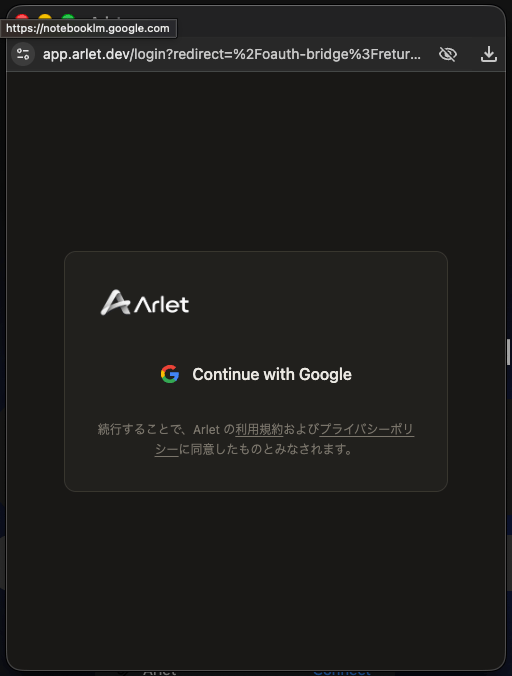 4. 接続が完了すると、コネクター一覧のArletがトグルで有効化できるようになります