> ## Documentation Index
> Fetch the complete documentation index at: https://docs.arlet.dev/llms.txt
> Use this file to discover all available pages before exploring further.

# ChatGPT

> ArletをChatGPTと接続する方法

<Note>
  カスタムMCPサーバーの追加には**Developer
  mode**の有効化が必要な場合があります。以下のプラグイン追加の画面が表示されないときは、ページ末尾の[補足](#補足-developer-modeを有効にする)を参照してください。
</Note>

### 1. プラグインを追加する

1. Settingsの**Plugins**から**Browse plugins**を開きます
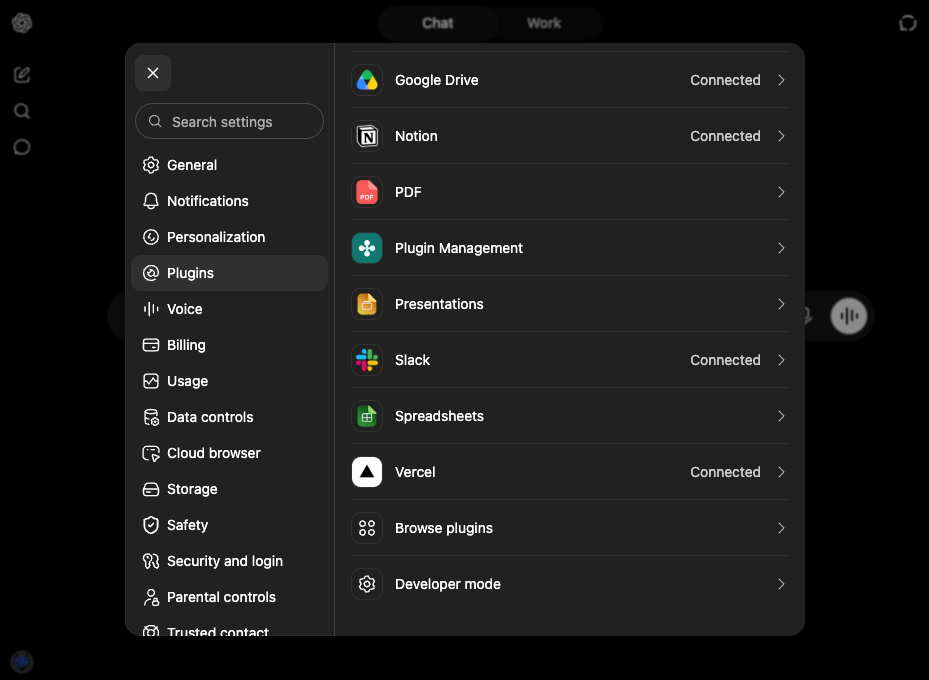
<img src="https://mintcdn.com/nexascienceinc/0cswBeVmfX6Tdpee/images/chatgpt/4.png?fit=max&auto=format&n=0cswBeVmfX6Tdpee&q=85&s=0d9f0411970e3bab1c39197645c16b0e" alt="SettingsのPluginsセクション" style={{ maxWidth: '70%', display: 'block', margin: '0 auto' }} width="929" height="680" data-path="images/chatgpt/4.png" />

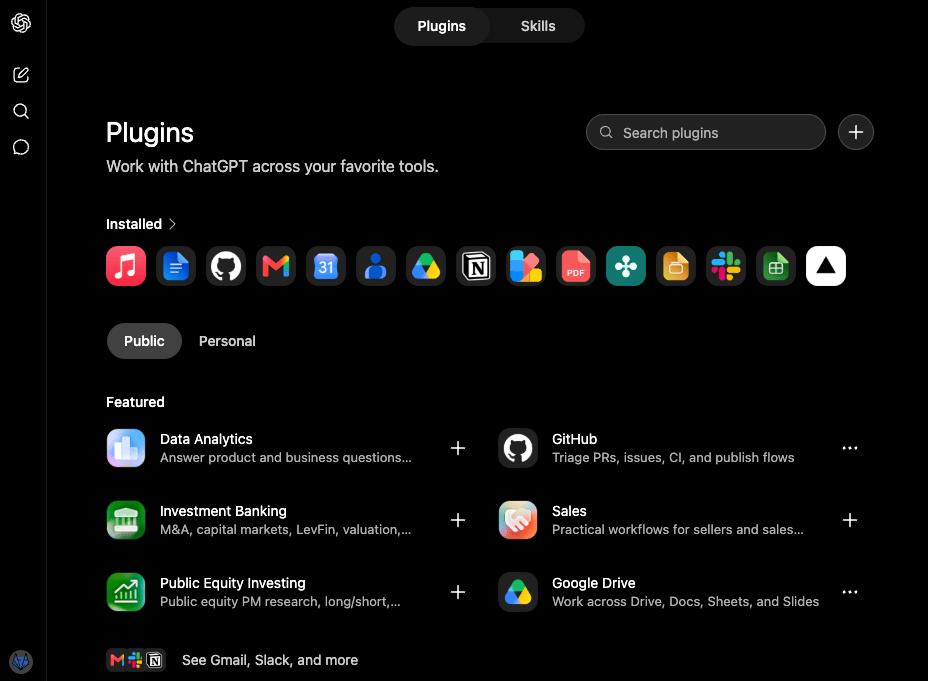
2. Pluginsページ右上の\*\*+\*\*をクリックします

<img src="https://mintcdn.com/nexascienceinc/0cswBeVmfX6Tdpee/images/chatgpt/5.png?fit=max&auto=format&n=0cswBeVmfX6Tdpee&q=85&s=b59da9bbc4046028fc0a903964b1295c" alt="Pluginsページ" style={{ maxWidth: '70%', display: 'block', margin: '0 auto' }} width="928" height="681" data-path="images/chatgpt/5.png" />

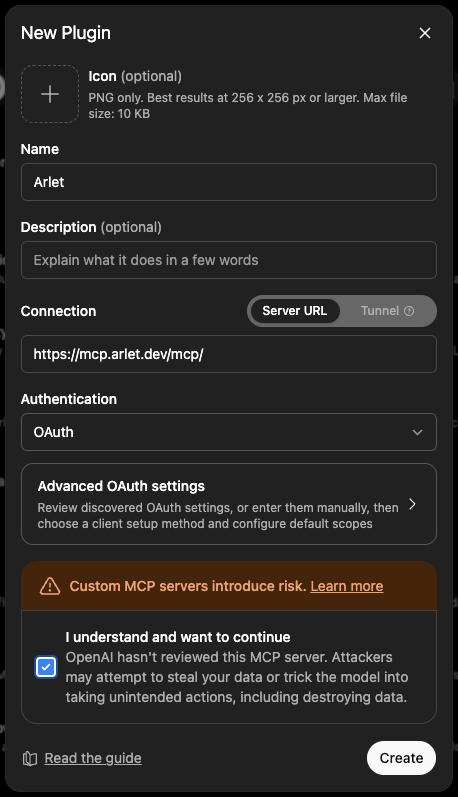
3. **New Plugin**フォームに以下を入力します：
   * **Name**: `Arlet`
   * **Connection**: `Server URL`を選択し、`https://mcp.arlet.dev/mcp/`を入力
   * **Authentication**: `OAuth`
4. リスクに関する確認（**I understand and want to continue**）にチェックを入れ、**Create**をクリックします

<img src="https://mintcdn.com/nexascienceinc/0cswBeVmfX6Tdpee/images/chatgpt/7.png?fit=max&auto=format&n=0cswBeVmfX6Tdpee&q=85&s=59581818cf38754301d1c61412b788e9" alt="New Pluginフォームの入力例" style={{ maxWidth: '70%', display: 'block', margin: '0 auto' }} width="458" height="797" data-path="images/chatgpt/7.png" />

### 2. 認証

1. 作成したArletプラグインを開き、**Sign in with Arlet**をクリックします
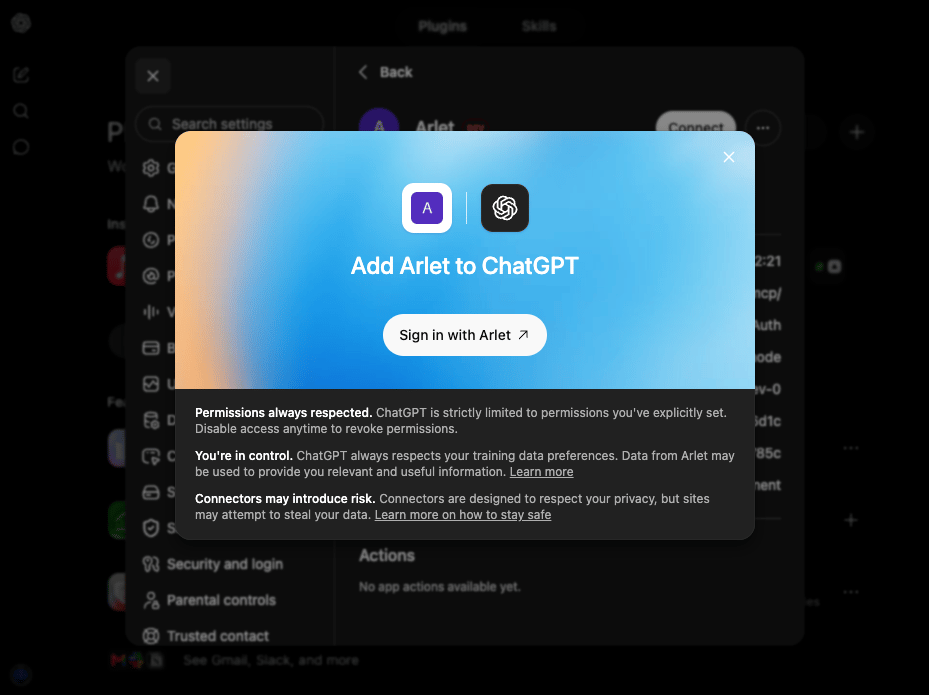
<img src="https://mintcdn.com/nexascienceinc/0cswBeVmfX6Tdpee/images/chatgpt/8.png?fit=max&auto=format&n=0cswBeVmfX6Tdpee&q=85&s=81e85cbc82acc6375721fb4ef5496a76" alt="Add Arlet to ChatGPTダイアログ" style={{ maxWidth: '70%', display: 'block', margin: '0 auto' }} width="929" height="695" data-path="images/chatgpt/8.png" />

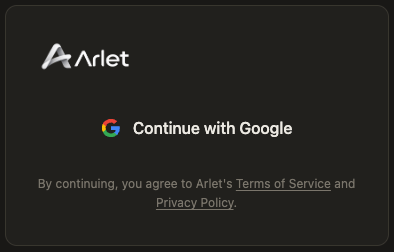
2. Arletのサインイン画面が開くので、Googleでサインインします

<img src="https://mintcdn.com/nexascienceinc/0cswBeVmfX6Tdpee/images/chatgpt/9.png?fit=max&auto=format&n=0cswBeVmfX6Tdpee&q=85&s=3f022c4a8a8bf5fa1976142910647a0b" alt="Arletのサインイン画面" style={{ maxWidth: '70%', display: 'block', margin: '0 auto' }} width="394" height="252" data-path="images/chatgpt/9.png" />

3. アクセス許可の確認画面で**Allow**をクリックすると接続が完了します
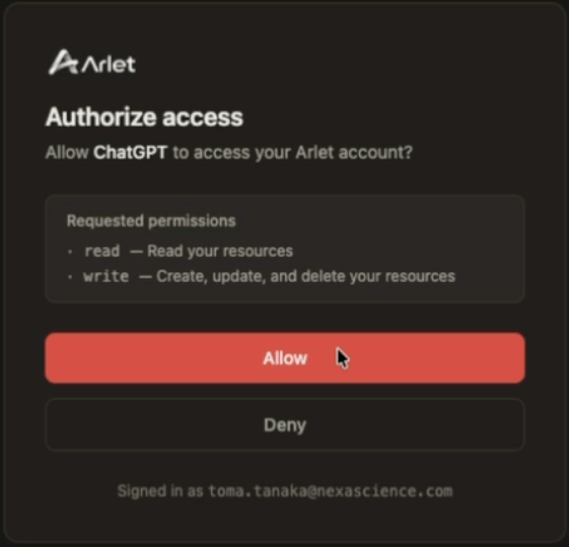
<img src="https://mintcdn.com/nexascienceinc/0cswBeVmfX6Tdpee/images/chatgpt/10.png?fit=max&auto=format&n=0cswBeVmfX6Tdpee&q=85&s=af06ca3f9ce576a9ac2d33a3426723bb" alt="Arletの認可画面" style={{ maxWidth: '70%', display: 'block', margin: '0 auto' }} width="569" height="547" data-path="images/chatgpt/10.png" />

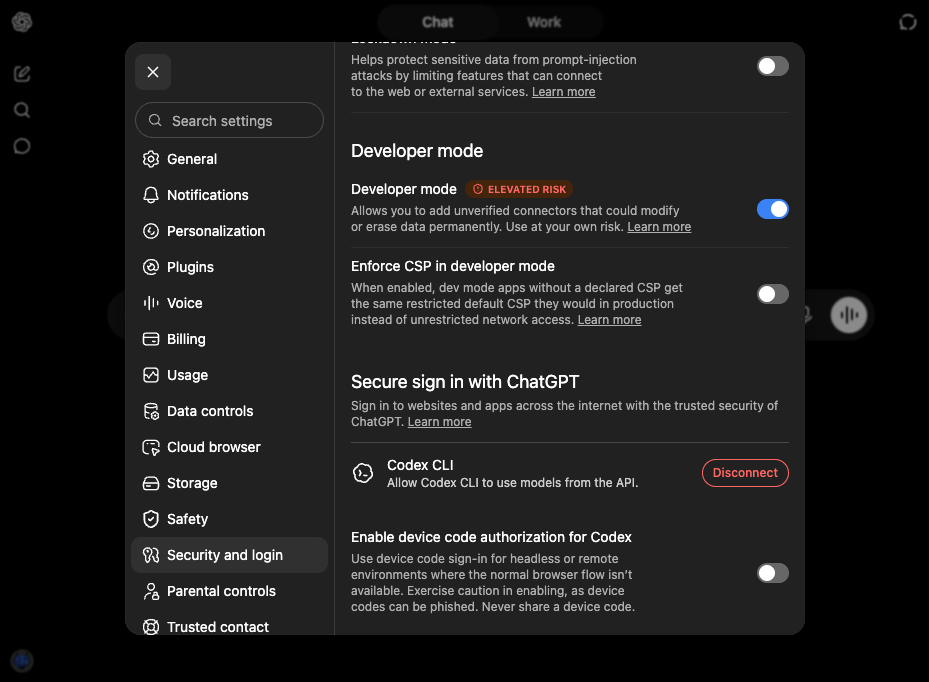
### 補足: Developer modeを有効にする

プラグインの追加画面（Settingsの**Plugins**）が表示されない場合は、Developer modeを有効にしてください。

1. [ChatGPT](https://chatgpt.com/)にサインインし、左下のアカウントアイコンをクリックします
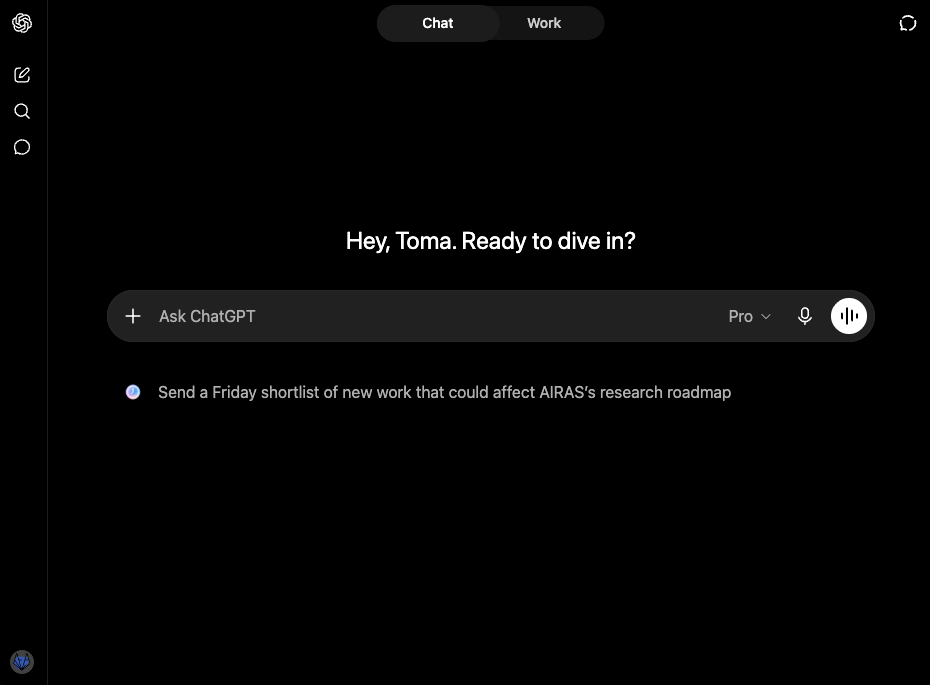
<img src="https://mintcdn.com/nexascienceinc/0cswBeVmfX6Tdpee/images/chatgpt/1.png?fit=max&auto=format&n=0cswBeVmfX6Tdpee&q=85&s=632a3082c768b9c751a605d8a42ba3c7" alt="ChatGPTのホーム画面" style={{ maxWidth: '70%', display: 'block', margin: '0 auto' }} width="930" height="685" data-path="images/chatgpt/1.png" />

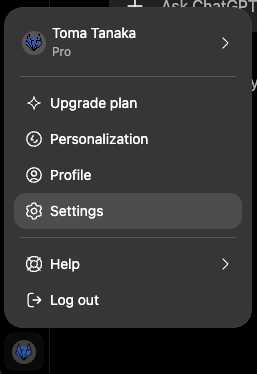
2. メニューから**Settings**を開きます

<img src="https://mintcdn.com/nexascienceinc/0cswBeVmfX6Tdpee/images/chatgpt/2.png?fit=max&auto=format&n=0cswBeVmfX6Tdpee&q=85&s=0510fd4d4fb5d0986e15c77656f49789" alt="アカウントメニューのSettings" style={{ maxWidth: '70%', display: 'block', margin: '0 auto' }} width="257" height="374" data-path="images/chatgpt/2.png" />

3. **Security and login**にある**Developer mode**をオンにします
<img src="https://mintcdn.com/nexascienceinc/0cswBeVmfX6Tdpee/images/chatgpt/3.png?fit=max&auto=format&n=0cswBeVmfX6Tdpee&q=85&s=0d2821974752e179731d9c59269f0499" alt="Developer modeのトグル" style={{ maxWidth: '70%', display: 'block', margin: '0 auto' }} width="929" height="682" data-path="images/chatgpt/3.png" />