> ## Documentation Index
> Fetch the complete documentation index at: https://docs.arlet.dev/llms.txt
> Use this file to discover all available pages before exploring further.
# Gemini Enterprise
> How to connect Arlet with Gemini Enterprise
Adding custom connectors (MCP) requires a Gemini Enterprise subscription. It
is not available in the consumer Gemini app.
### 1. Open the connector settings
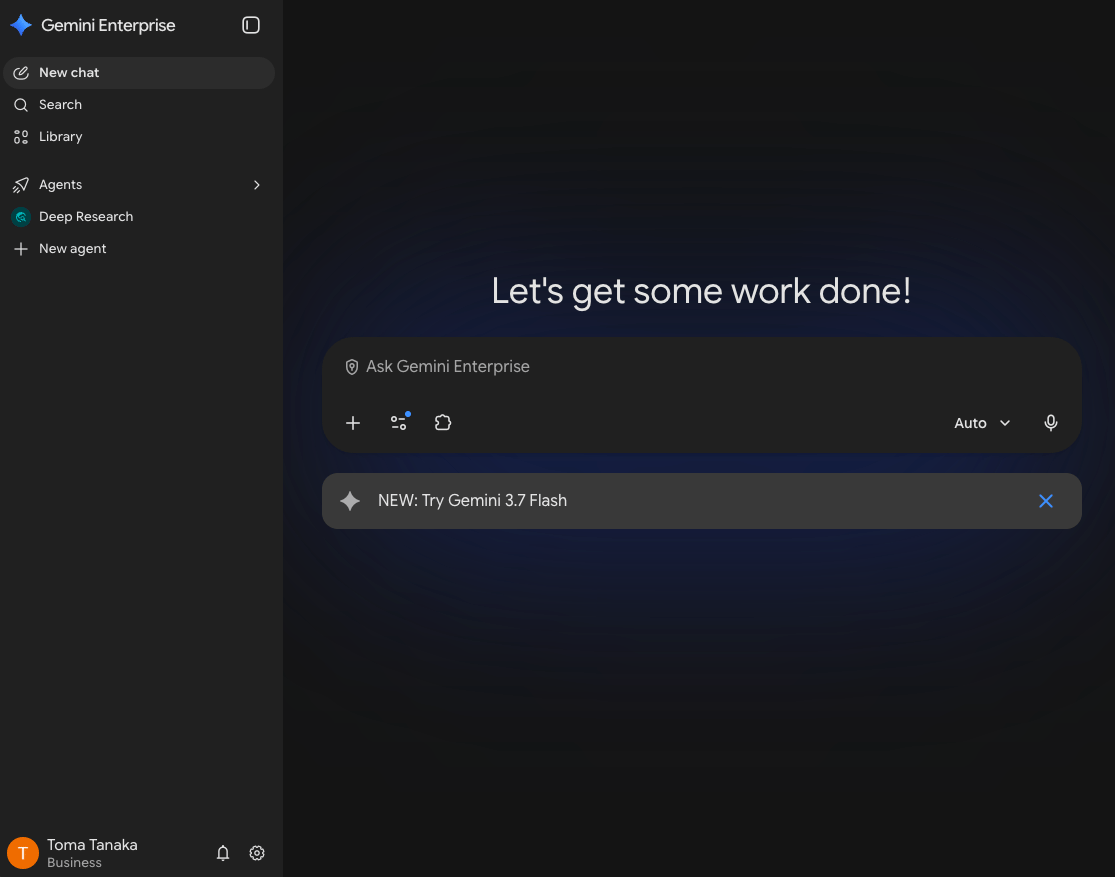
1. Sign in to [Gemini Enterprise](https://business.gemini.google/) with your organization's Google account and open the settings menu from the gear icon at the bottom left
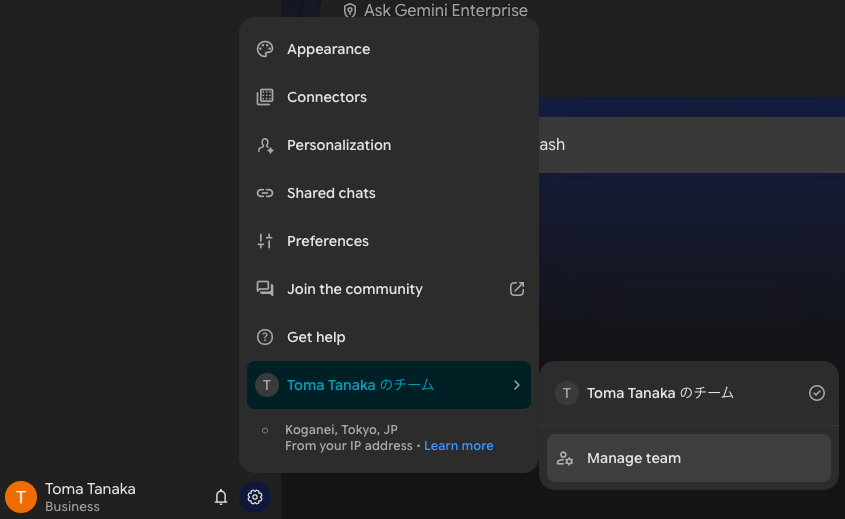
 2. Select **Connectors**
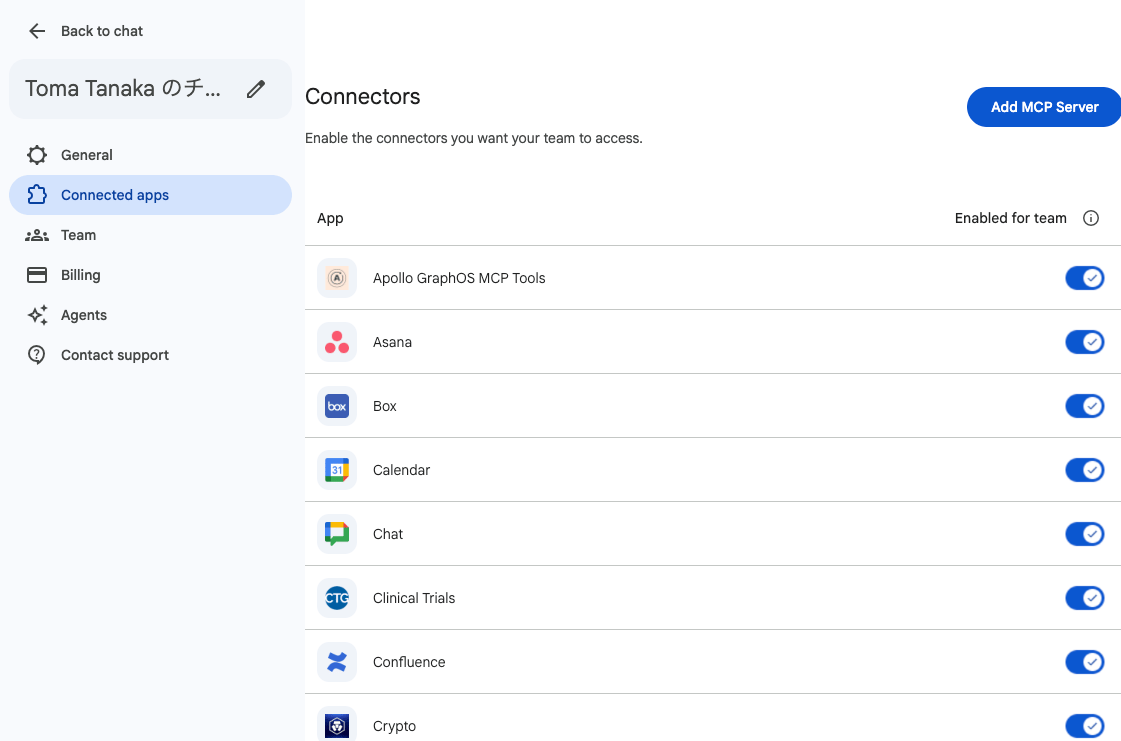
 3. Click **Add MCP Server** at the top right of the connector list
 ### 2. Add the MCP server
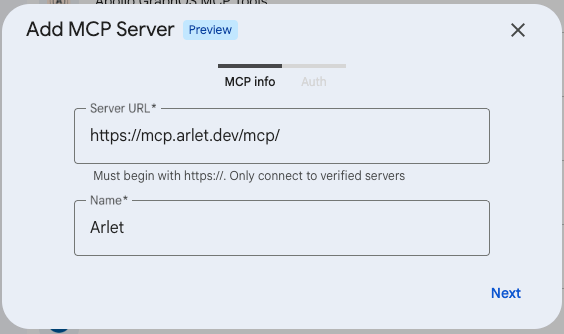
Fill in the **MCP info** tab and click **Next**:
* **Server URL**: `https://mcp.arlet.dev/mcp/`
* **Name**: `Arlet`
### 2. Add the MCP server
Fill in the **MCP info** tab and click **Next**:
* **Server URL**: `https://mcp.arlet.dev/mcp/`
* **Name**: `Arlet`
 ### 3. Configure OAuth
Enter the following values in the **Auth** tab exactly as shown:
| Field | Value |
| ------------------ | --------------------------------------------- |
| Authorization URL | `https://api.arlet.dev/oauth/authorize` |
| Token URL | `https://api.arlet.dev/oauth/token` |
| Auth URL Parameter | (leave empty) |
| Client ID | `bZMPRGhKKNpV5GuIZjqLqg` |
| Client Secret | `ZDjS20kr2KlktIeTSWo3TNxy4ETm4BaTDoNsWTfqGAg` |
| Scopes | `read write` |
### 3. Configure OAuth
Enter the following values in the **Auth** tab exactly as shown:
| Field | Value |
| ------------------ | --------------------------------------------- |
| Authorization URL | `https://api.arlet.dev/oauth/authorize` |
| Token URL | `https://api.arlet.dev/oauth/token` |
| Auth URL Parameter | (leave empty) |
| Client ID | `bZMPRGhKKNpV5GuIZjqLqg` |
| Client Secret | `ZDjS20kr2KlktIeTSWo3TNxy4ETm4BaTDoNsWTfqGAg` |
| Scopes | `read write` |
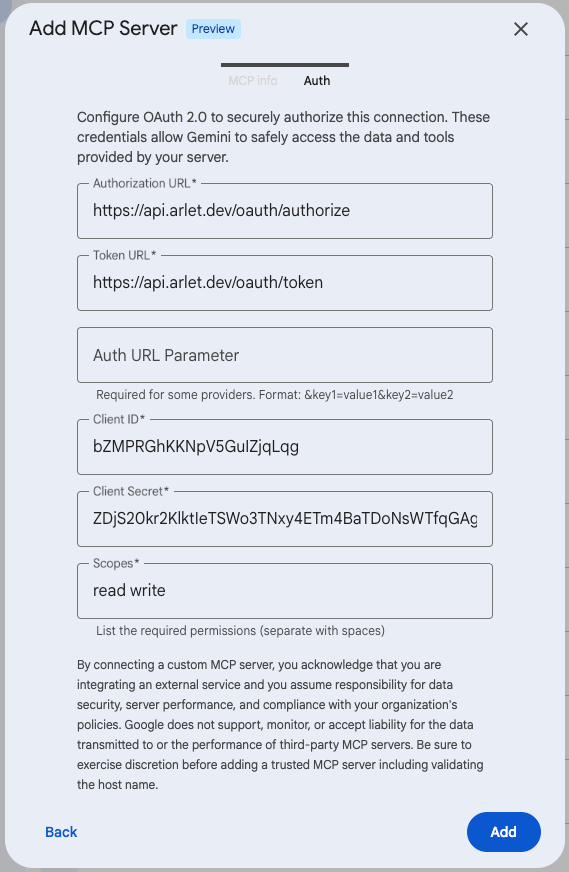 Click **Add** to save the connector.
This Client ID / Client Secret is a shared client dedicated to Gemini
Enterprise connections. Access is granted not by these values but by each
user's individual sign-in and authorization in the next step.
### 4. Connect to Arlet
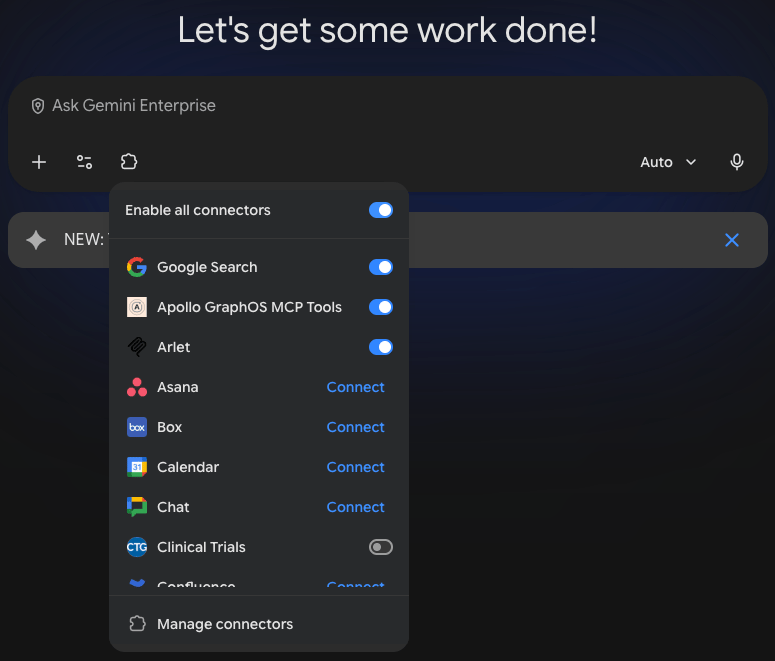
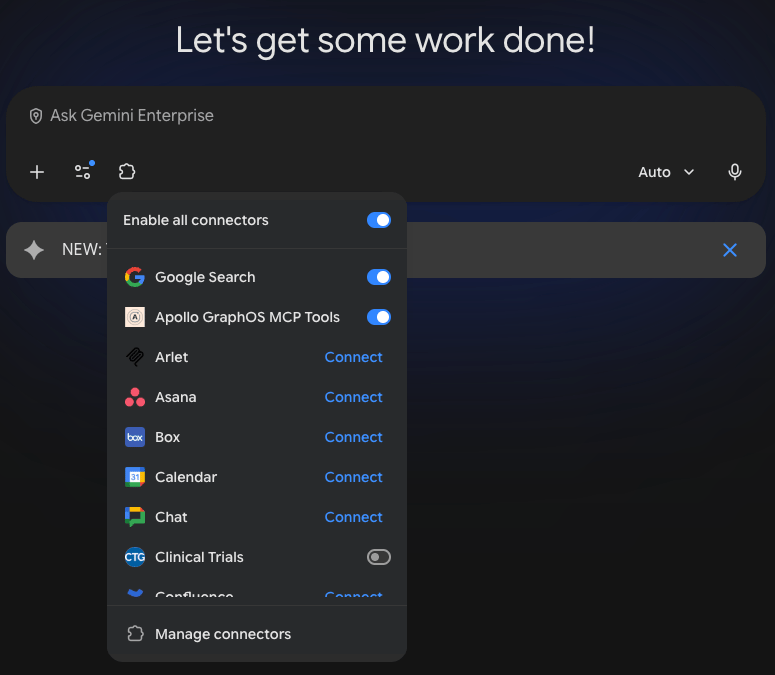
1. Open the connector icon in the chat screen — Arlet appears in the list. Click **Connect**
Click **Add** to save the connector.
This Client ID / Client Secret is a shared client dedicated to Gemini
Enterprise connections. Access is granted not by these values but by each
user's individual sign-in and authorization in the next step.
### 4. Connect to Arlet
1. Open the connector icon in the chat screen — Arlet appears in the list. Click **Connect**
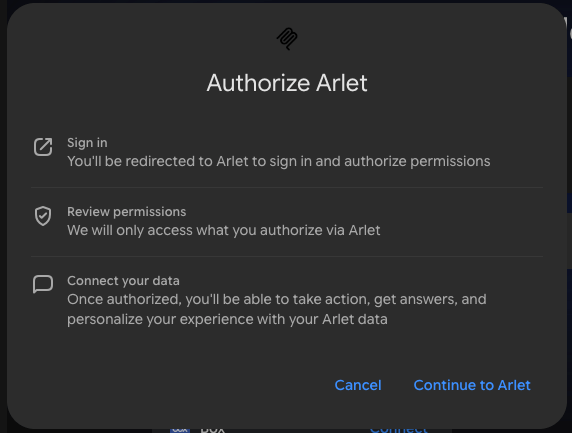
 2. An authorization dialog appears. Click **Continue to Arlet**
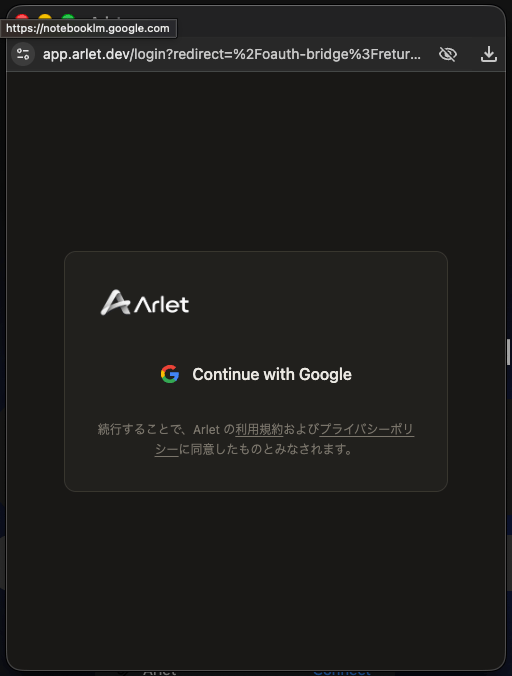
 3. Arlet's sign-in screen opens. Sign in with Google and complete the OAuth flow
 4. Once connected, Arlet can be enabled with the toggle in the connector list